

3D printing starts with a digital model, but even a well-designed part can fail if the STL file is exported incorrectly. Many common printing problems happen not because the model itself is bad, but because the export settings were wrong.
If the STL resolution is too low, curved surfaces may appear faceted. If the resolution is too high, the file may become unnecessarily large and difficult to process. Incorrect units, poor mesh quality, or broken geometry can also create slicing errors before printing even begins.
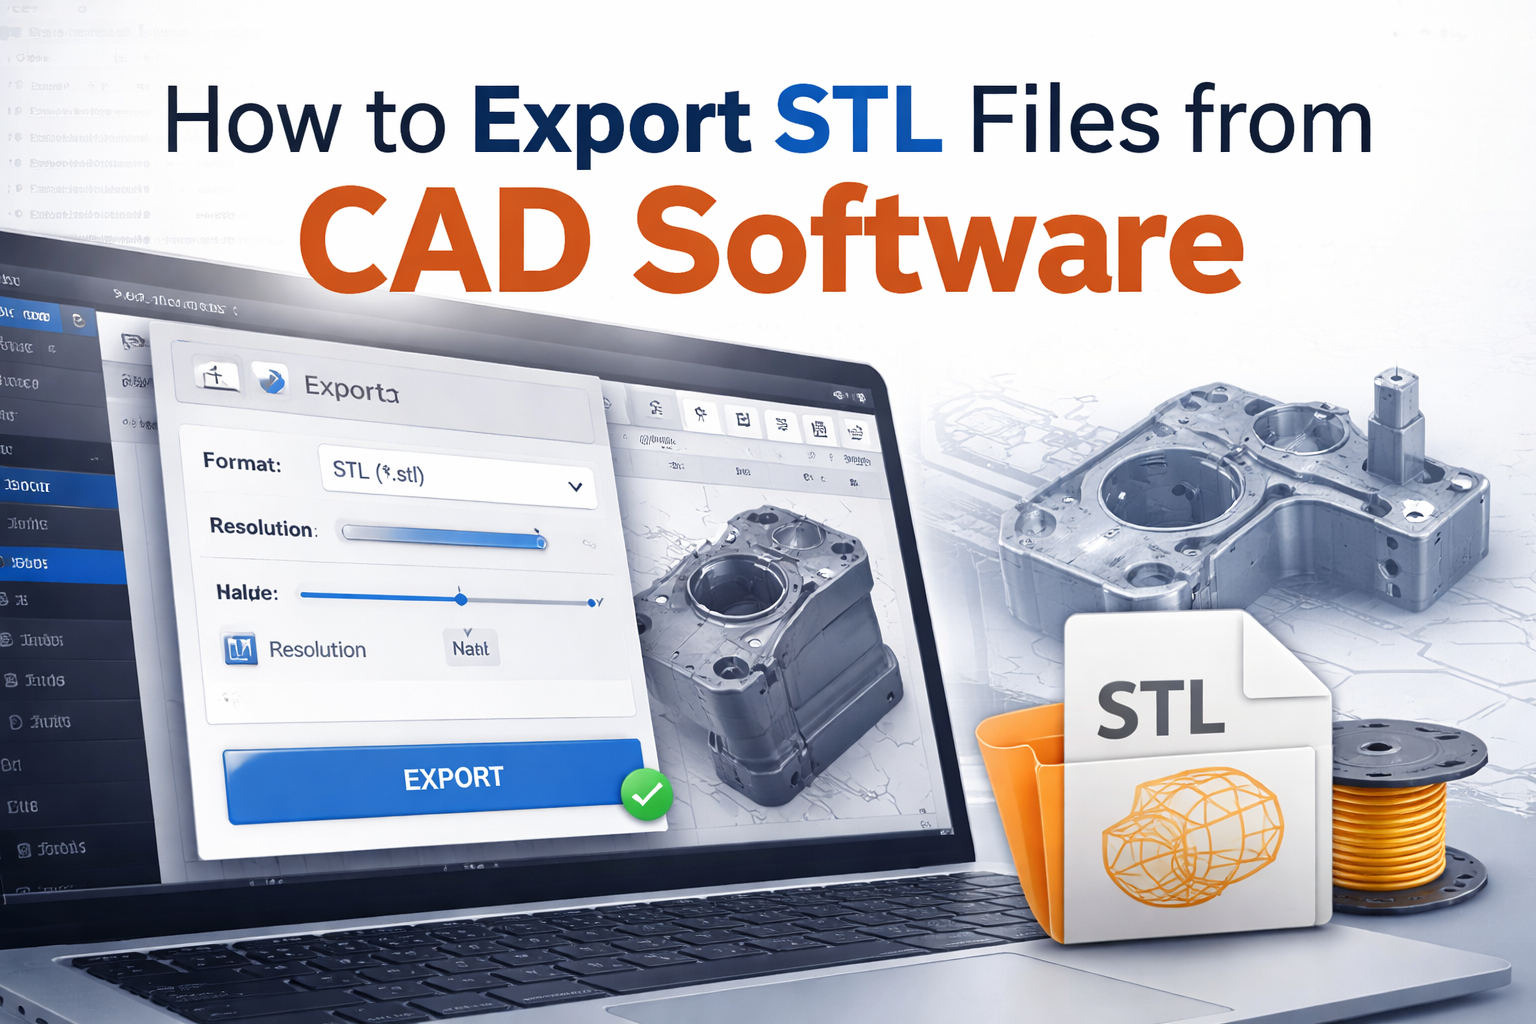
In this guide, we explain how to export STL files from CAD software correctly, what settings matter most, and how to avoid the most common mistakes before sending your file to a 3D printer.
If you already have a file prepared and want to check whether it is ready for production, you can upload it directly through our Print STL File UK page and receive a fast quote.
An STL file does not store a model as a fully editable CAD object. Instead, it converts the part into a triangle mesh that describes the outer surface of the shape.
That means the export process is critical. If the STL is generated with poor settings, the printed result may suffer from:
A properly exported STL file gives the slicer a clean, accurate model that can be processed without problems.
If you want to understand how STL compares with other 3D printing formats, read our guide Best File Formats for 3D Printing (STL vs STEP vs OBJ).
An STL file only stores the surface geometry of a 3D model using triangles. It does not keep advanced CAD information such as:
This is why STL is ideal for printing, but not for design changes.
If you still need a full engineering model for editing, STEP is often the better format. We explain the difference in detail here: STEP vs STL for 3D Printing
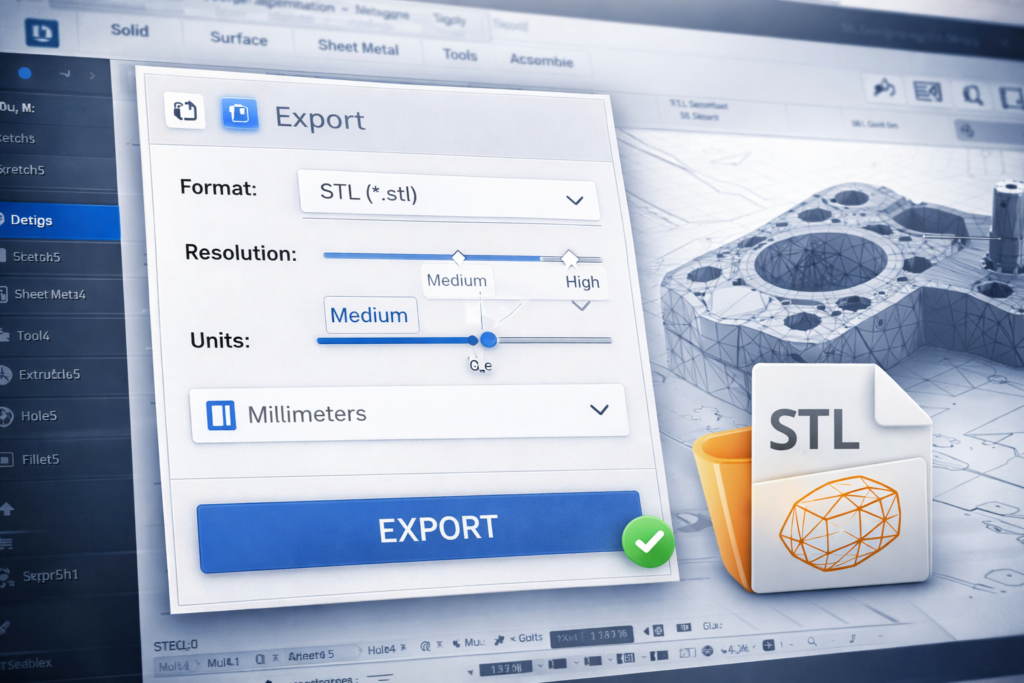
Before exporting from CAD software, it is important to understand the key STL settings that affect print quality.
Resolution controls how finely the software converts curved surfaces into triangles.
Low resolution creates:
High resolution creates:
For most 3D printing projects, a medium to high resolution is the best balance between file quality and file size.
Some STL files are exported without clear unit information. This can cause serious scaling issues when the file is opened in slicing software.
For example:
Always confirm that your CAD model and STL export use the correct units before printing.
Some CAD software allows you to export STL files in binary or ASCII format.
Binary STL is usually better because it:
ASCII STL is larger and mainly useful only in rare technical cases.
The exact steps vary depending on the software, but the general workflow is usually the same.
Before creating the STL file, inspect the CAD model carefully.
Make sure the model:
If the model is not printable, exporting it as STL will not fix the problem.
For help with printability, see: How to Make Your Model 3D Printable
Most CAD programs include an export function such as:
Select STL as the output format.
Choose a mesh quality that matches the part.
For example:
Excessively dense STL files increase file size without always improving print quality.
Before saving the file, confirm the model units.
For most 3D printing workflows, millimeters are the standard.
Never assume the export is correct without checking it.
Open the STL in software such as:
Confirm that:
If errors appear, fix them before printing.
Different CAD programs use slightly different terminology, but the goal is always the same: convert the solid model into a clean triangle mesh.
In Fusion 360, STL export is commonly done through the Save As Mesh or export menu.
Fusion 360 allows you to control:
In SolidWorks, STL files are usually exported using Save As > STL.
You can then define:
FreeCAD can export solids into STL using the mesh export tools.
Users should always check mesh quality afterwards, especially on curved surfaces.
Most engineering CAD tools support STL export through their standard export menu. The same principles apply across all of them:
Many STL problems happen during export, not during design.
Common mistakes include:
These mistakes often lead to slicing problems, print failures, or parts that do not match the intended size.
If your exported file has geometry problems, read: Common STL File Errors and How to Fix Them
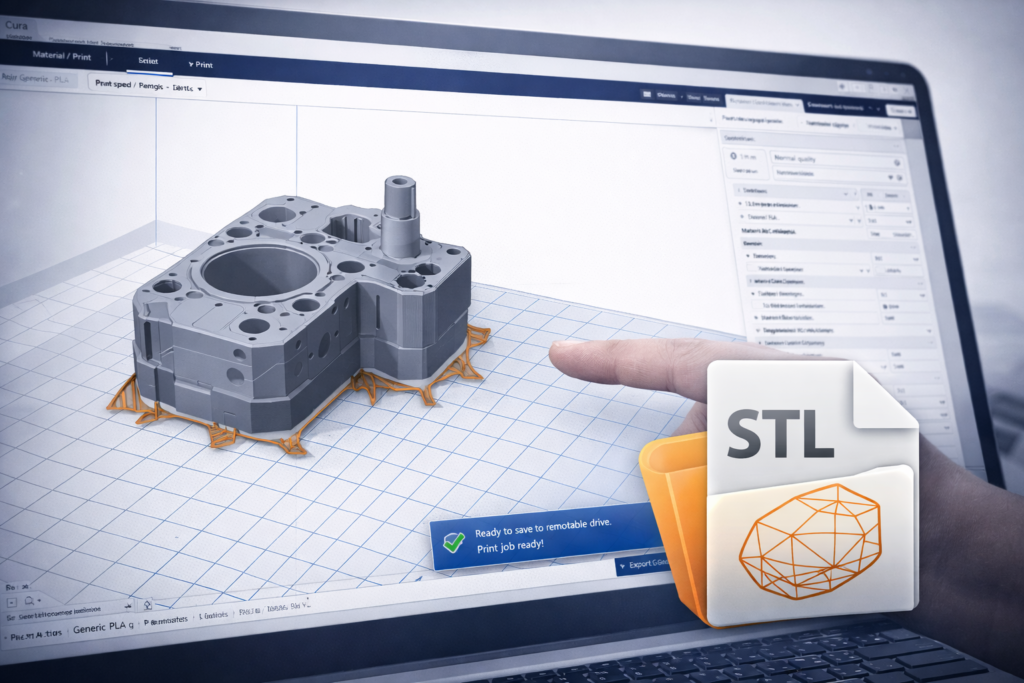
After exporting the STL, always perform a quick quality check.
Look for:
A good STL should open cleanly, scale correctly, and slice without warnings.
If the exported file still looks wrong, the problem may be related to mesh density, geometry errors, or printability limitations.
You may also find this guide useful: How to Prepare an STL File for 3D Printing
The right resolution depends on the shape of the part.
As a simple rule:
For many practical projects, medium or high settings are enough. Using the highest possible setting is usually unnecessary and only makes the file heavier.
A dedicated guide on this topic can also be useful in your workflow: What Resolution Should STL Files Be
Once the STL file is exported correctly, the next step is preparing it for production.
Before printing, make sure:
A few minutes of checking can prevent wasted material, failed prints, and unnecessary delays.
If you already have an STL file exported from CAD software but are unsure whether it is ready for printing, our UK-based 3D printing service can help.
At 3DRevolution.co.uk, we review uploaded files, check for basic printability issues, and recommend suitable materials and printing methods for the project.
Simply upload your file through our Upload file page or use our Print STL File UK page to request a quote.
Exporting STL files correctly is an essential step in the 3D printing workflow. Even a strong CAD design can produce poor printing results if the STL is generated with the wrong resolution, incorrect units, or broken geometry.
By checking the model before export, choosing sensible STL settings, and validating the final file in slicing software, you can avoid many common problems before they reach the printer.
Whether you are creating prototypes, engineering parts, product housings, or custom components, a clean STL export makes the entire printing process more reliable and efficient.
If your file is ready, you can upload it directly through our Print STL File UK page and receive a fast quote for production.