

3D printing allows you to turn digital designs into physical objects, but not every 3D model is ready to print immediately. Many files downloaded from the internet or exported from CAD software contain errors that can cause failed prints, weak parts, or slicing problems.
Before sending a file to a 3D printer or a professional service, it is important to check whether the model is actually printable. A few simple checks can save hours of printing time and prevent wasted material.
If you are new to preparing models, it is helpful to start with this guide:
How to Prepare an STL File for 3D Printing
In this article we explain how to check if a model is 3D printable and what steps to take if the file contains errors.
A large percentage of STL files contain issues that prevent successful printing. These problems often appear when models are downloaded from online libraries or exported incorrectly from CAD software.
Some of the most common problems include:
If your file already contains mesh issues, you may need to repair it before printing. You can learn more here:
Common STL File Errors and How to Fix Them
Checking the file before printing is a standard step used by professional 3D printing services.
One of the most important things to verify is whether the model is manifold.
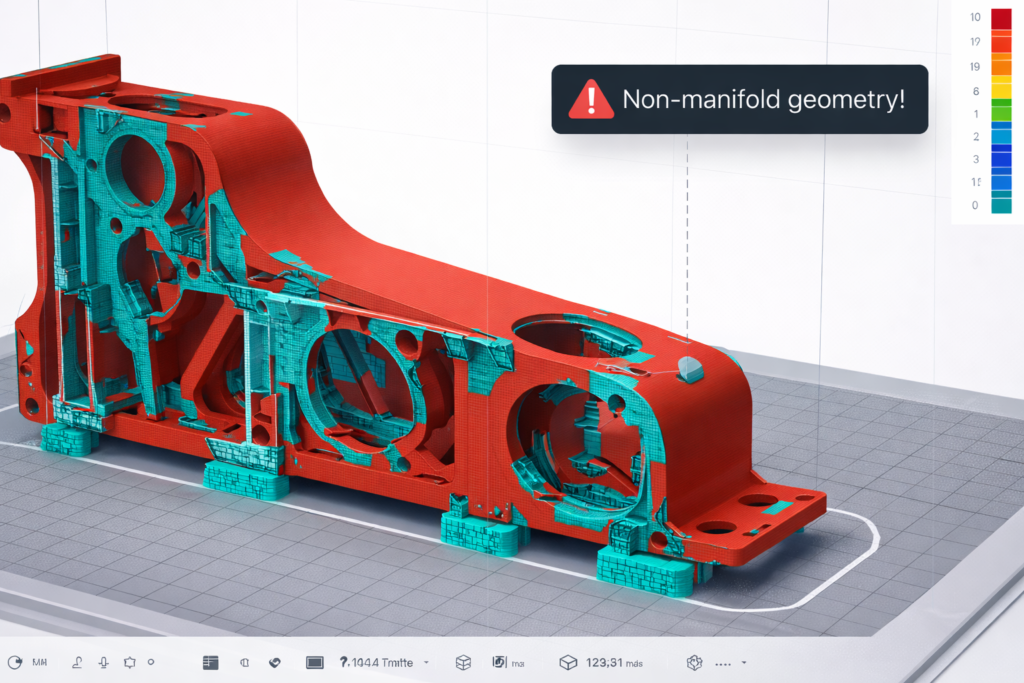
A manifold model means the object is a completely closed solid with no gaps or broken surfaces. Every edge in the mesh must belong to exactly two faces.
Non-manifold models often contain:
When slicing software detects non-manifold geometry, it may produce incorrect toolpaths or fail to generate a printable file.
Most slicers will display warnings if the model is not manifold.
Thin walls are another common problem in 3D printing.
If parts of the model are thinner than the printer’s nozzle width, the printer cannot physically produce those features.
Typical minimum wall thickness guidelines are:
If walls are too thin, slicers may ignore those areas completely or produce weak structures.
Material choice also affects wall strength. If you want to learn more about material differences, see:
(PLA vs PETG vs ABS – Which Material Is Best)
Incorrect scale is extremely common when exporting STL files from CAD software.
A model designed in millimeters may be interpreted as inches, making the part 25.4 times larger than expected.
Before printing, verify:
To avoid scaling problems during export, follow this guide:
How to Export STL Files from CAD Software
Some shapes are difficult to print without support structures.
Large overhangs, steep angles, and unsupported bridges can cause print failures or poor surface quality.
As a general rule:
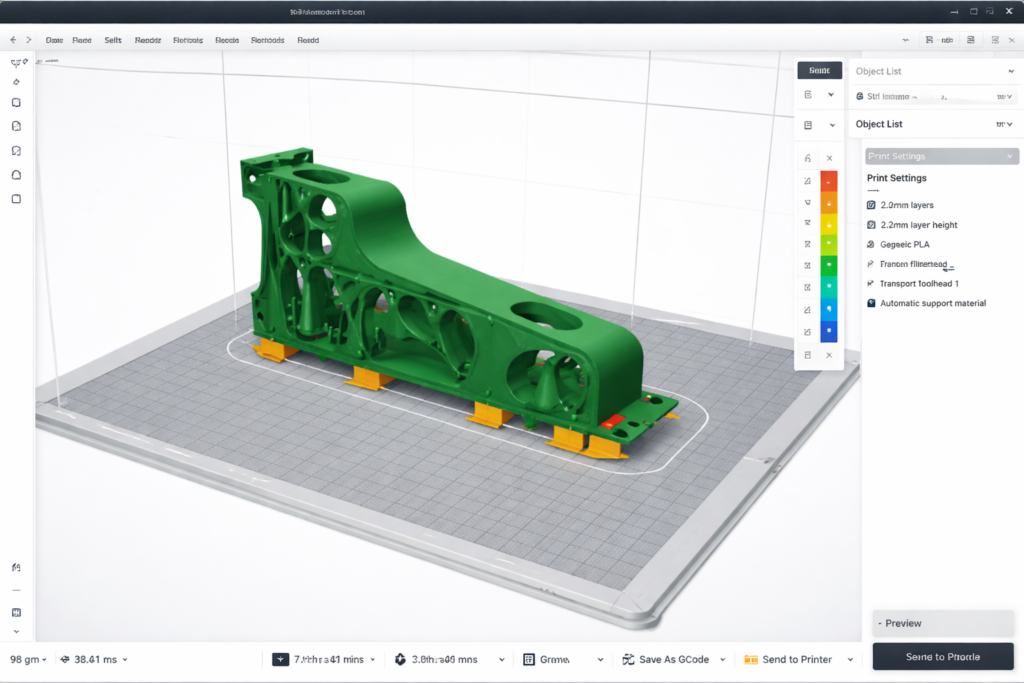
Modern slicers allow you to preview the model layer by layer, making it easier to detect these issues before printing.
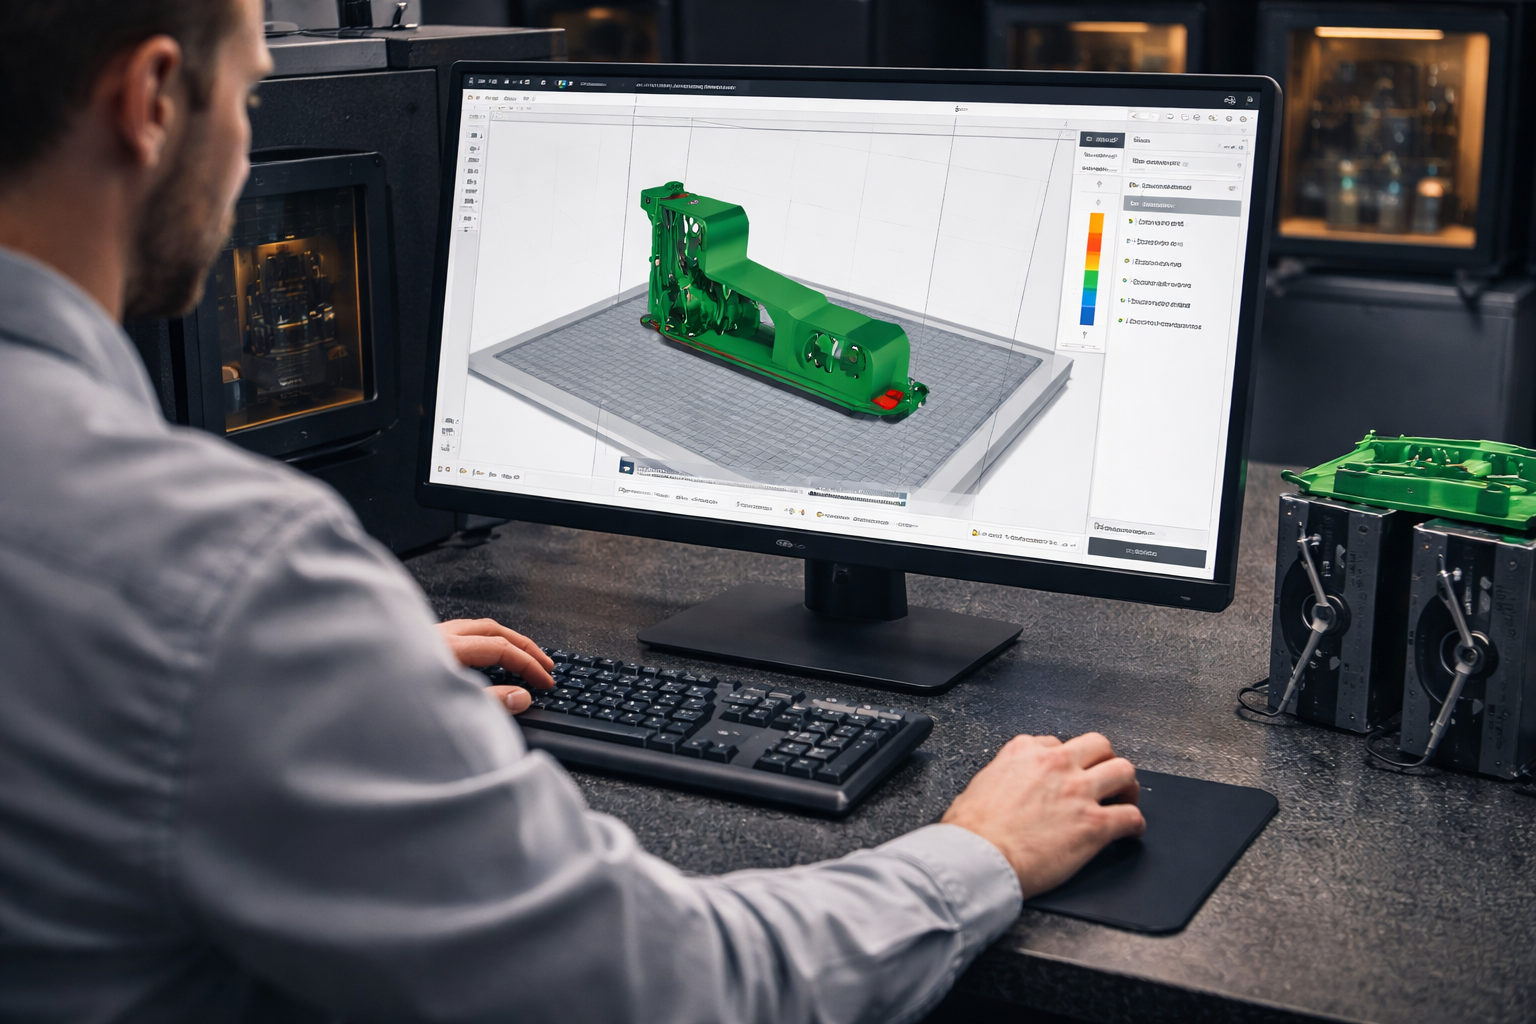
One of the easiest ways to check if a model is printable is simply to load it into slicing software.
Popular slicers include:
After loading the model, the slicer will show:
If the slicer successfully generates layers, the model is usually printable.
If you are unsure which file format works best with slicers, read:
Best File Formats for 3D Printing (STL vs STEP vs OBJ)
Several free tools can automatically analyse and repair STL files.
Common tools include:
Meshmixer
Useful for repairing holes and fixing non-manifold geometry.
Netfabb
Detects and repairs mesh problems automatically.
Microsoft 3D Builder
Simple tool that can automatically repair STL files.
Blender
Advanced modelling software capable of fixing complex geometry issues.
These tools are widely used before sending models to a professional 3D printing service.
If the model contains errors, there are several ways to fix it.
Possible solutions include:
You may also need to adjust the original design to ensure successful printing. Learn more here:
How to Make Your Model 3D Printable
If you are unsure whether your file is printable, a professional 3D printing service can check it for you.
At 3DRevolution, we review STL files before printing to ensure they are suitable for production. This includes checking:
If problems are detected, we can often repair the file or recommend adjustments before printing.
You can simply upload your model using our
Upload File for 3D Printing
page and receive a printability check together with your quote.
If you want to learn more about our printing process, visit:
Online 3D Printing Service UK