


3D printing allows engineers, designers, hobbyists, and businesses to turn digital 3D models into real physical objects. However, one of the most common frustrations beginners face is discovering that their 3D model is not printable.
A model may look perfect on the screen but fail during slicing or printing because of geometry errors, incorrect wall thickness, unsupported structures, or poor file preparation.
In this guide, we will explain how to make your 3D model printable, what common mistakes to avoid, and how to prepare your file so that a 3D printing service can produce it without problems.
Understanding how to prepare a 3D model for printing is essential for avoiding failed prints and wasted material.
If you already have a model and want to check whether it is ready for production, you can always upload it to our Print STL File UK page and receive an instant quote.

A 3D printable model must meet several technical requirements so that slicing software can correctly convert it into printing instructions.
A model becomes printable when it:
Many STL files downloaded from the internet fail because they contain hidden geometry problems. If these problems are not fixed, the printer may produce weak parts, distorted shapes, or completely fail.
If you want to understand the most common file problems in detail, see our guide: Common STL File Errors and How to Fix Them
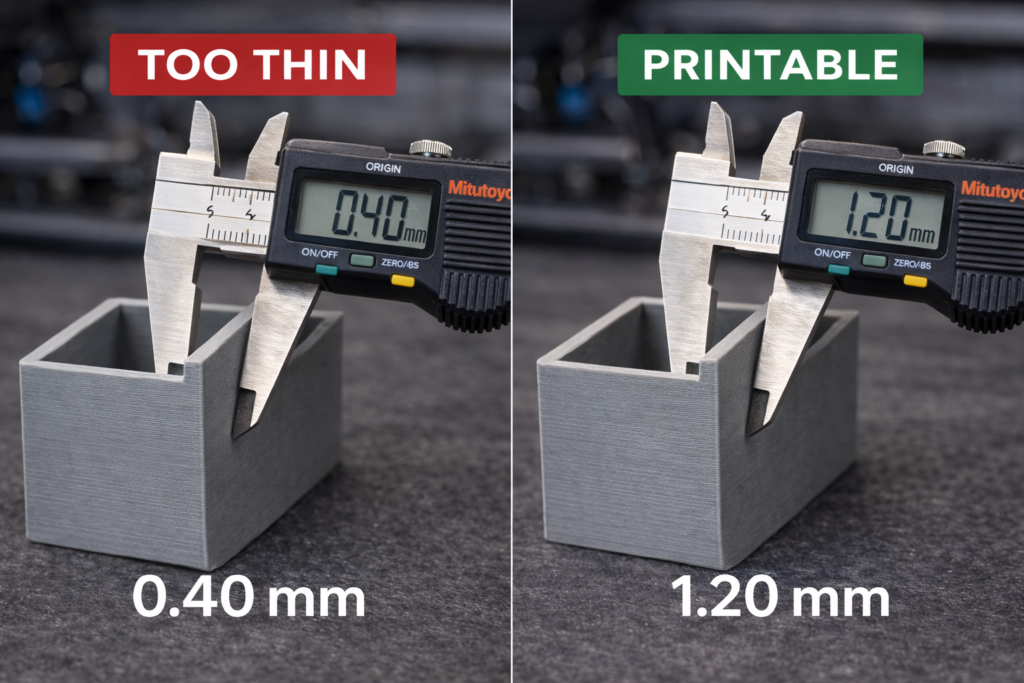
One of the most common reasons why models fail during printing is walls that are too thin.
When walls are thinner than the printer nozzle or the chosen layer settings, the slicer cannot generate proper toolpaths.
For most FDM printers:
For stronger parts, thicker walls are recommended.
Thin walls may look fine in CAD software but can disappear completely during slicing.
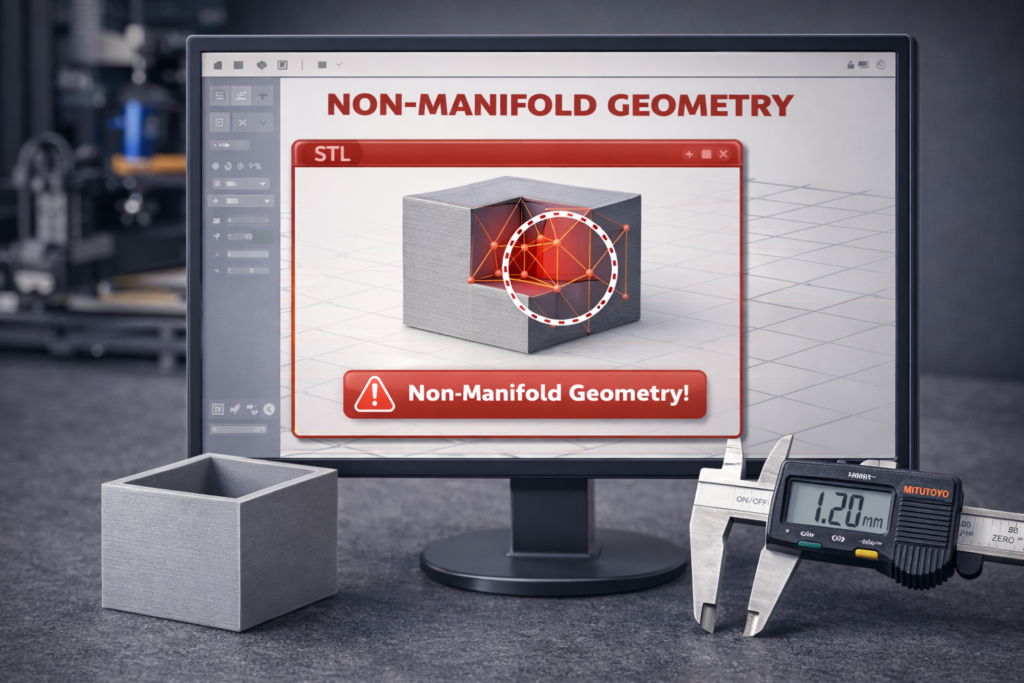
A model must be manifold, meaning it represents a solid object without gaps or impossible geometry.
Common non-manifold problems include:
These errors confuse slicing software because the printer cannot determine what is inside and outside the object.
Many 3D modeling tools can automatically repair these issues. Programs such as Meshmixer, Blender, and Netfabb are commonly used to detect and repair non-manifold geometry.
If your file still refuses to slice properly, read our detailed troubleshooting article: Common STL File Errors and How to Fix Them
Another frequent problem is floating geometry.
Floating parts are small pieces of geometry that are not connected to the main model.
Examples include:
These pieces may cause unexpected printing results or slicing failures.
Before exporting your model, always check that the geometry consists of one clean solid object.
Incorrect scale is a surprisingly common issue.
Many STL files are exported without unit information, which can cause the model to appear:
For example:
A model designed in millimeters may open in a slicer set to inches.
Always verify the correct scale before printing.
Typical checks include:
Overhangs are areas of a model that extend outward without support underneath.
Most FDM printers can print overhangs up to 45 degrees without support structures. Beyond that angle, supports may be required.
However, supports increase:
Good model design reduces unnecessary overhangs.
Possible solutions include:
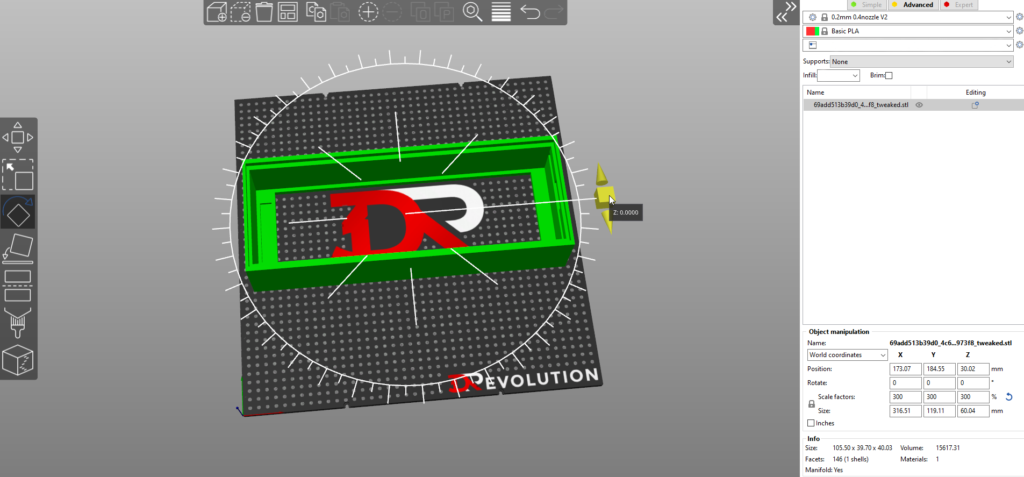
Orientation plays a major role in print quality and strength.
Correct orientation can:
For example, parts that experience stress should be oriented so that the layer lines run perpendicular to the load direction.
This significantly improves durability.
Most 3D printing services accept STL files, but other formats may also be supported.
Common file formats include:
STL remains the most widely used format because it describes the geometry using triangles.
If you are unsure which format to use, read our comparison guide: Best File Formats for 3D Printing
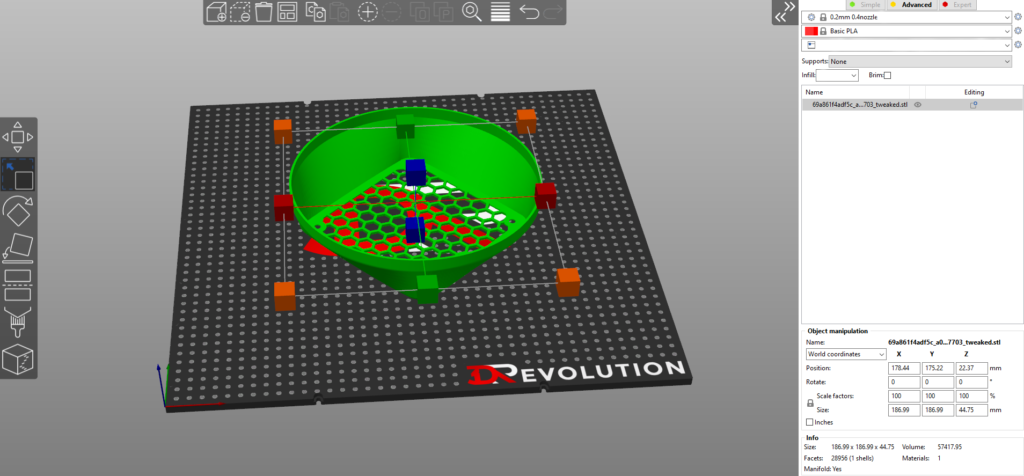
Before sending your file to a printer or 3D printing service, always test it in slicing software.
Popular slicers include:
The slicer will reveal problems such as:
Once your model passes all checks, export it as an STL file with appropriate resolution.
High resolution ensures smooth surfaces, while excessively dense meshes can increase file size unnecessarily.
If you are not familiar with the correct export settings, read our step-by-step tutorial: How to Prepare an STL File for 3D Printing
Even well-designed models sometimes need small adjustments before printing.
Professional 3D printing services can:
If you would like to turn your design into a real physical object, you can upload your model to our Online 3D Printing Service UK page and receive an instant quote.
Our service is used by:
We provide fast and reliable UK-based 3D printing with high-quality results.
Preparing a model for 3D printing is an essential step in achieving successful results. By checking wall thickness, fixing mesh errors, verifying scale, and optimizing orientation, you can avoid many common printing problems.
Understanding how to make a model printable not only improves print quality but also reduces wasted material, failed prints, and unnecessary delays.
Whether you are designing parts for engineering projects, prototypes, robotics, or personal creations, proper preparation ensures reliable prints, reduces failed builds, and saves both time and material.
If you already have a model ready, you can upload it directly through our Print STL File UK page and receive an instant quote.
Testing the file takes only a few minutes but can prevent wasted prints and material.
If you’re unsure whether your model is printable, our UK 3D printing service can check and print your STL file.