Optimize your 3D designs for efficient printing with our expert guide. Learn essential tips on material selection, design considerations, and print settings to create high-quality, cost-effective prints. At 3DRevolution.co.uk, we offer top-tier 3D printing services, ensuring your designs are visually appealing and structurally sound. Visit us today to upload your models and get an instant quote.
Table of Contents
Efficient 3D Design for 3D Printing
In the dynamic world of 3D printing, optimizing your 3D designs is key to achieving high-quality prints and minimizing material usage and print time. Whether crafting functional prototypes, intricate art models, or detailed miniatures, refining your 3D designs can make a significant difference. At 3DRevolution.co.uk, we provide top-tier 3D printing services, guiding you through every step for the best results.
In this post, we’ll delve into essential tips and techniques for optimizing your 3D designs for 3D printing efficiency, focusing on material selection, design considerations, and print settings. This will help you create models that are visually appealing, structurally sound, and cost-effective.
Fundamentals of 3D Modeling for Printing Success
Before diving into optimization techniques, it’s essential to understand the 3D printing technologies and materials available at 3DRevolution.co.uk. We use two primary technologies:
Tailoring Your 3D Models for Specific 3D Printing Prototypes
The first step in optimizing your 3D design is to consider its intended purpose. Whether creating a functional prototype, art piece, or miniature, your design should meet the specific requirements of its end use. Here are some tips:
Functional Prototypes: Focus on durability and functionality with materials like ABS or PETG.
For example, a client at 3DRevolution.co.uk needed a durable prototype. By selecting PETG and optimizing the design, we produced a robust prototype, minimizing print time and cost.
Enhancing 3D Design for Printability in 3D Printing Prototypes
When designing for 3D printing, consider the printability of your model:
Minimize Overhangs: Reduce the need for support structures by designing with fewer overhangs.
Add Support Structures Wisely: Use supports only where necessary to minimize print time and material usage.
Ensure Proper Wall Thickness: Balance strength and material usage by ensuring appropriate wall thickness.
Following these guidelines improves printability, reducing failures and optimizing material usage. At 3DRevolution.co.uk, our design experts help refine your models for the best results.
Software Tools and File Preparation
Selecting Software for Optimizing 3D Modeling for Printing
Choosing the right software for 3D modeling is crucial for optimization. Here are some recommended tools and their advantages:
Tinkercad: Ideal for beginners, Tinkercad offers an intuitive interface and easy-to-use features, making it perfect for simple designs and quick iterations.
Fusion 360: A more advanced tool, Fusion 360 provides comprehensive design capabilities, including parametric modeling, which allows you to make precise adjustments to your design.
Blender: Known for its versatility, Blender is excellent for creating detailed and complex models, especially when working on artistic projects or intricate miniatures.
To get the most out of these tools, take advantage of the design guides available at 3DRevolution.co.uk. Our guides offer step-by-step instructions on using various software programs to create optimized 3D models. Additionally, our experts are always ready to provide personalized advice and support.
Preparing and Exporting Files for Optimal 3D Printing Results
Proper file preparation and export are critical steps in ensuring your 3D design is ready for printing. Follow these best practices to avoid common pitfalls and achieve optimal results:
Check for Errors: Before exporting your file, thoroughly inspect your design for any errors, such as non-manifold edges or intersecting geometry. Most 3D modeling software includes tools for detecting and fixing these issues.
Export in Correct Format: Ensure you export your design in the correct file format, typically STL or STP. These formats are widely accepted by 3D printers and ensure your design retains its integrity during the printing process.
Optimize File Size: Large file sizes can slow down the printing process and increase the risk of errors. Simplify your design by reducing unnecessary details or using lower resolution settings where possible.
At 3DRevolution.co.uk, we streamline the file preparation process by allowing you to upload your 3D model files directly to our platform. Once uploaded, you can choose your desired material and print settings, and receive an instant quote, making it easy to get started on your project.
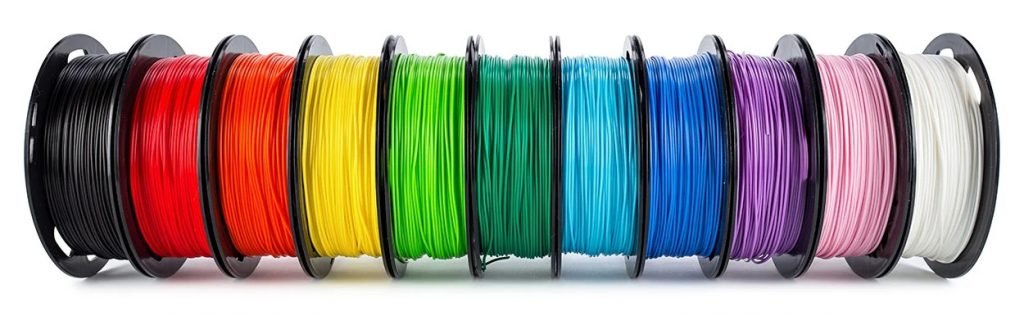
Choosing the Right Materials for Efficient 3D Printing
Selecting the right material for your 3D print is essential for achieving the desired balance between strength, flexibility, and detail. Here’s a detailed look at some of the materials available at 3DRevolution.co.uk and their ideal applications:
ABS (Acrylonitrile Butadiene Styrene): Known for its strength and durability, ABS is suitable for functional prototypes and mechanical parts. It can withstand higher temperatures and offers good impact resistance.
PLA (Polylactic Acid): A biodegradable material, PLA is easy to print with and provides a smooth finish, making it ideal for decorative items and low-stress applications.
PETG (Polyethylene Terephthalate Glycol): Combining the best properties of ABS and PLA, PETG offers strength, flexibility, and chemical resistance. It’s perfect for functional parts and items that require durability.
High-Detail Resin: Used in SLA printing, high-detail resin produces exceptionally smooth and detailed prints, making it ideal for intricate models and miniatures.
Carbon Fiber-Infused PETG: This specialty material offers enhanced strength and rigidity, suitable for high-performance parts that need to be lightweight yet strong.
Selecting the right material based on your project needs can significantly impact the efficiency and quality of your 3D prints. Our team at 3DRevolution.co.uk can help you choose the best material for your specific application, ensuring your prints meet all performance and aesthetic requirements.
Enhancing Print Efficiency and Post-Processing
Techniques for Maximizing Efficiency in 3D Printing Prototypes
To maximize the efficiency of your 3D printing process, consider the following techniques:
Adjust Layer Height: Smaller layer heights can improve print quality but increase print time. Adjust the layer height based on the level of detail required for your model. For prototypes, a larger layer height may be sufficient, while detailed models may benefit from smaller layers.
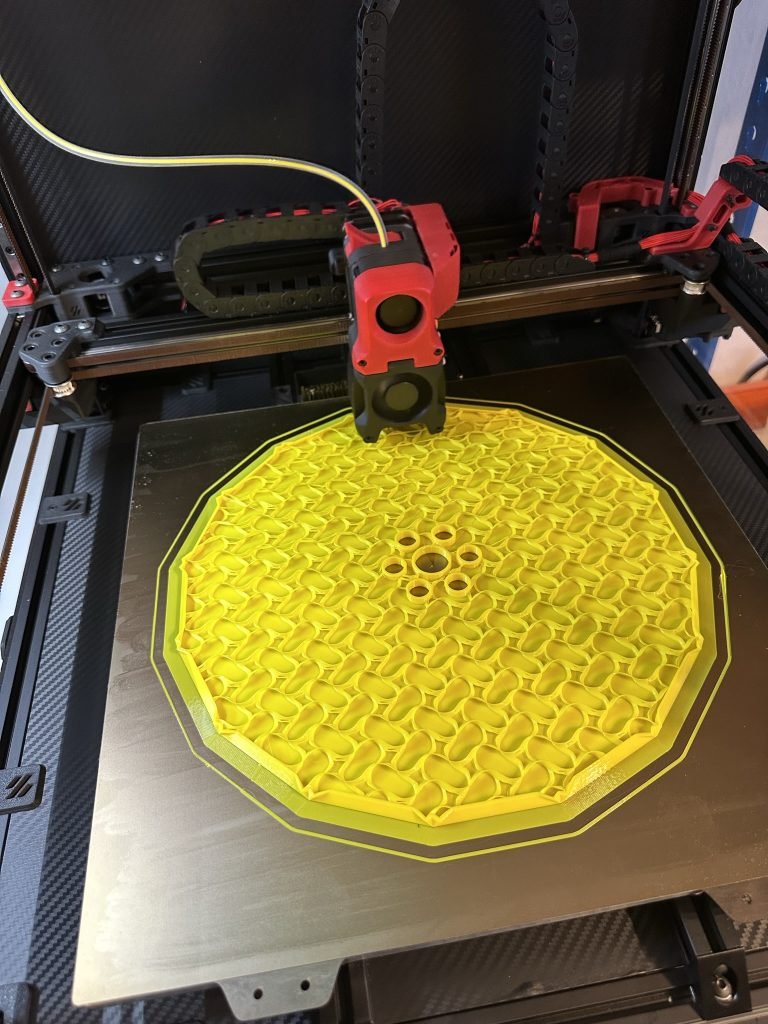
Optimize Infill Patterns: Infill density and pattern play a crucial role in determining the strength and material usage of your print. Use honeycomb or grid patterns for strong yet lightweight structures, and adjust the infill density to balance strength and material efficiency.
Reduce Supports: Minimize the use of support structures by designing with fewer overhangs and bridging gaps. Where supports are necessary, use the least amount required to maintain print integrity.
For example, a client working on a complex mechanical part used our expertise to adjust layer height and infill settings, resulting in a significant reduction in print time and material usage without compromising on the quality. This not only saved costs but also sped up their product development cycle.
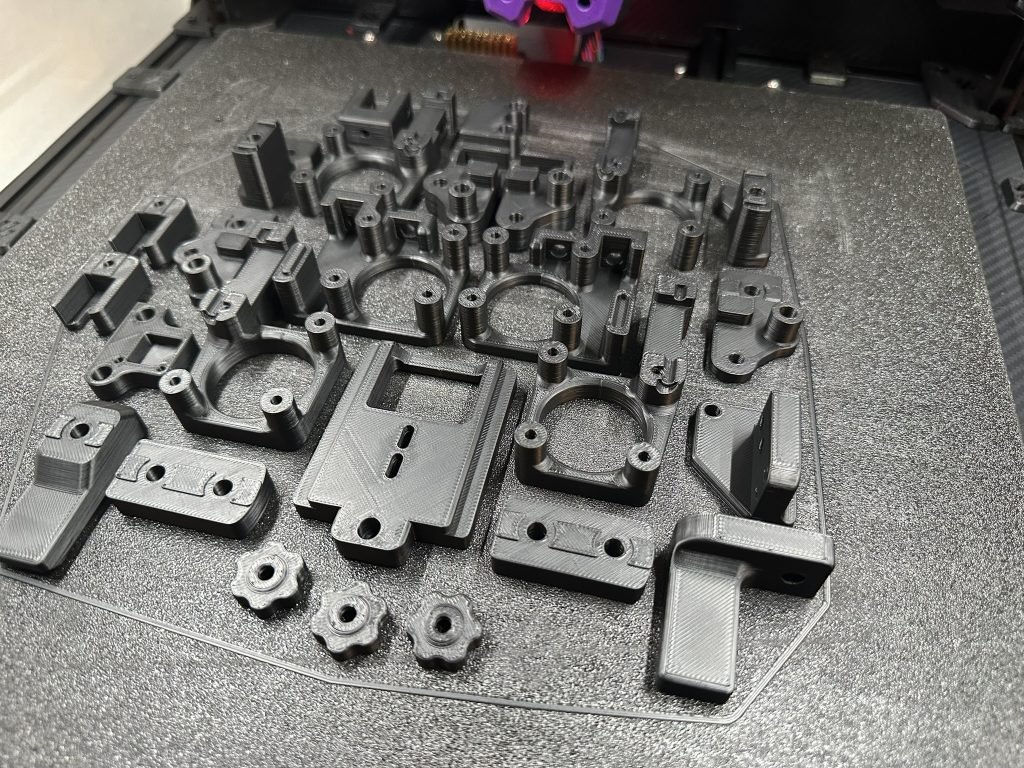
Finishing Touches: Post-Processing Your 3D Prints
Once your 3D print is complete, post-processing can enhance the final appearance and functionality of your model. Here are some common techniques:
Sanding: Smooths out layer lines and imperfections, providing a polished finish. Start with coarse sandpaper and gradually move to finer grits for the best results.
Painting: Adds color and detail to your model. Use primer before applying paint to ensure better adhesion and a smoother finish.
Assembly: For multipart designs, ensure that all pieces fit together correctly. Use adhesives or fasteners as needed to secure parts.
At 3DRevolution.co.uk, we offer a range of post-processing services to help you achieve a professional finish on your 3D prints. Whether you need sanding, painting, or assembly, our team is equipped to handle all your post-processing needs.
Avoiding Pitfalls in 3D Design for 3D Printing Prototypes
Even with the best intentions, it’s easy to make mistakes when designing for 3D printing. Here are some common pitfalls and how to avoid them:
Ignoring Print Orientation: The orientation of your model on the print bed can significantly affect the final quality. Incorrect orientation can lead to warping, weak points, and excessive use of support structures. Always consider the optimal orientation that minimizes supports and ensures strength.
Overlooking Tolerances and Clearances: Failing to account for material shrinkage and printer tolerances can result in parts that don’t fit together correctly. Ensure you incorporate appropriate clearances for moving parts and assembly components.
Neglecting to Hollow Out Large Models: Solid models consume more material and take longer to print. For large objects, consider hollowing out the model and adding drainage holes to save material and reduce print time.
Using Inappropriate Layer Heights: Using too fine a layer height for large prints can unnecessarily increase print time without significant improvements in quality. Conversely, using a too coarse layer height for detailed prints can result in loss of detail.
Skipping Test Prints: Jumping straight to printing a large or complex model without doing a test print can lead to wasted material and time if issues arise. Always perform a small test print to check for potential problems.
At 3DRevolution.co.uk, we help our clients avoid these mistakes by offering detailed design reviews and personalized feedback. For instance, one of our clients was struggling with parts that didn’t fit due to incorrect tolerances. By adjusting the design based on our recommendations, they achieved a perfect fit in the next print.
7-Step Guide to 3D Modeling for Efficient Printing
Step 1: Setting Objectives for Your 3D Printing Project
Identify the Purpose: Determine whether your model is for a functional prototype, an art piece, or a miniature. Consider the environment and conditions in which the final product will be used.
Minimize Overhangs: Design your model with fewer overhangs to reduce the need for support structures. Use features like chamfers or fillets to replace sharp overhangs.
Optimize Wall Thickness: Ensure walls are thick enough to provide strength but not excessively thick to waste material. Use a minimum wall thickness of 1.2 mm for most materials.
Reduce Supports: Design models that naturally support themselves. Position parts at angles that minimize the need for additional supports.
Step 3: Selecting the Best Software for 3D Modeling
Tinkercad (Beginner): Ideal for simple designs and quick iterations. User-friendly interface with basic features.
Autodesk Fusion (Intermediate): Offers parametric modeling for precise adjustments. Suitable for more complex designs.
Blender (Advanced): Best for detailed and intricate models. Versatile tool with a steep learning curve.
Step 4: File Preparation for Successful 3D Printing
Check for Errors: Use software tools to detect and fix non-manifold edges or intersecting geometry. Ensure your model is watertight and free of defects.
Export in Correct Format: Export your design as an STL or STP file. Optimize file size by reducing unnecessary details or using lower resolution settings.
Upload to 3DRevolution.co.uk: Visit our website and upload your file. Choose your material and print settings to receive an instant quote.
Step 5: Techniques to Improve 3D Printing Efficiency
Adjust Layer Height: Select a larger layer height for faster prints with less detail. Use a smaller layer height for high-detail prints.
Optimize Infill Patterns: Use patterns like honeycomb or grid to balance strength and material usage. Adjust infill density based on the required strength of the model.
Position Model Correctly: Orient your model to minimize supports and ensure structural integrity. Use the slicer software to find the optimal orientation.
Step 6: Finalizing Your 3D Prints with Post-Processing
Sanding: Smooth out layer lines and imperfections using coarse to fine-grit sandpaper. Ensure even sanding for a polished finish.
Painting: Apply a primer before painting to enhance paint adhesion. Use multiple light coats for an even finish.
Assembly: Ensure all parts fit together correctly. Use adhesives or fasteners to secure parts as needed.
Summary and Final Thoughts on Optimizing 3D Designs for Printing
By following these steps, you can optimize your 3D designs for efficient and high-quality printing. At 3DRevolution.co.uk, we provide the expertise and resources to support you throughout your 3D printing journey. Ready to get started? Upload your design and get an instant quote today. Let us help you bring your creative visions to life with precision and efficiency.
Optimizing your 3D designs for printer efficiency is a multifaceted process that involves careful consideration of materials, design principles, software tools, and post-processing techniques. By following the guidelines outlined in this blog post, you can enhance the quality, strength, and efficiency of your 3D prints, ultimately saving time and resources.
At 3DRevolution.co.uk, we’re dedicated to providing expert support and high-quality services to help you achieve your 3D printing goals. Whether you’re a beginner or an experienced designer, our team is here to assist you at every stage of your project. From selecting the right materials to refining your designs and post-processing your prints, we offer comprehensive solutions tailored to your needs.
Are you ready to optimize your 3D designs and bring your creative visions to life? Contact us today or visit our website to upload your 3D models and get an instant quote. Let 3DRevolution.co.uk be your trusted partner in the exciting world of 3D printing.
Embrace the full potential of 3D printing with 3DRevolution.co.uk and turn your ideas into reality with our comprehensive and expert services.